The Settings Panel contains the commands that drive the Centerline.

Click the Collapse/Expand button to show or hide the Settings Panel.

Grade
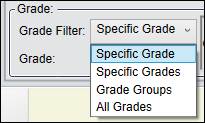
These options will only appear for a grade-based centerline. When viewing grade runs, the grade filter determines which grade runs will be shown. Grade-based centerlines can also use the grade filter to only show fixed time periods when a specific grade was running. The grade filter does not apply to product runs, unless product runs are being supplied by the PARCrollup Server.
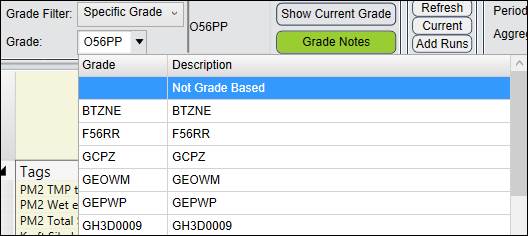
Click the Show Current Grade to change back to the current grade and refresh the data.

To filter by a specific grade, make sure Specific Grade is selected, then pick a grade from the drop-down menu.
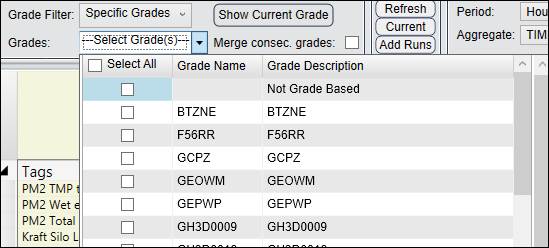
To filter by one or more grades, select Specific Grades, then check the box next to the grade name(s) to include in the filter.
The Merge consec. grades checkbox, when checked, forces different grades that have runs that are consecutive to be shown as one run which will cause the grades to all fall under the same column in Centerline.
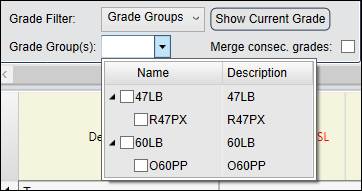
To filter by preconfigured grade groups, select Grade Groups. The grade group itself can be selected, thus selecting all of the grades within it, or each grade can be selected individually from any of the groups.
The Merge consec. grades checkbox, when checked, forces different grades that have runs that are consecutive to be shown as one run which will cause the grades to all fall under the same column in Centerline.
If All Grades is selected, the Centerline will not filter by grades.
Click Grade Notes to add notes within a centerline. Notes can be saved and can be altered when the Edit Limit Notes option is enabled. If any changes have been made, click Save before closing the Note.
Runs
To recalculate the run statistics, click the Refresh button.

Centerlines can be configured automatically to update the latest run for a specific period type when opened. Typically, this latest run will still be in progress. Centerlines in current mode will continue to update the duration and run statistics of the current run on a specified interval. Click the Current button to enable current mode. It will turn green once enabled.

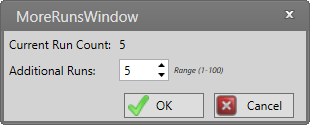
To add additional run columns to the Centerline, click Add Runs. Select a number of additional runs, then click OK.
Aggregation
The aggregation options control the type of run columns and statistics generated by the Centerline.
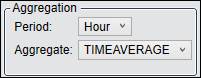
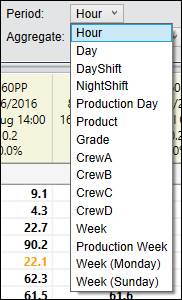
To change the selected run type, open the time period drop-down menu and select a new time period. The time periods are customized options and can be configured to show or hide in the drop-down menu under the Time Periods tab in the Properties menu.
To change the selected statistic type, open the Aggregate menu and select a new statistic.
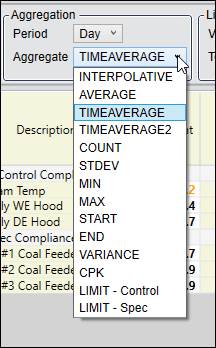
Aggregate Types
Select from the following Aggregate types.
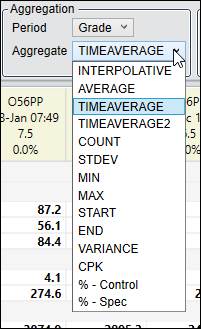
Interpolative: Instantaneous value at the start time of the interval. Calculated based on the tag’s interpolation type.
Average: Raw average (sum/count).
TimeAverage: Time-weighted average. Takes into account length of time between values and the tag’s interpolation type.
TimeAverage2: Same as TimeAverage, except it excludes bad quality timespans instead of carrying last known good point forward.
Count: Number of values.
STDEV: Standard deviation.
Min: Minimum value.
Max: Maximum value.
Start: Value at the start of the run.
End: Value at the end of the run.
Variance: Average squared deviation from the mean.
CPK: Process Capability index.
% – {Type}: Shows the percentage of time the tag’s values were within the selected limit type during the run.
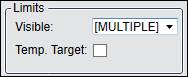
Limits
Centerlines can show limit values for one or more limit types. If enabled in the centerline’s configuration, values in the Current column and in the data columns change color based on the enabled limits. To change which limits are displayed, open the Visible drop-down menu and select the Limit Names to enable.

Miscellaneous Columns
Click the checkbox to enable one of the miscellaneous columns.
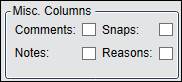
Comment: This creates a column that is available to write in and edit. The column will be associated with whichever grade is currently set when a comment is made if working with a grade-based centerline.
Notes: If Edit Limit Notes is enabled, this column is available to write in and edit. If the centerline is grade-based, the notes will be associated with whichever grade is currently set and whichever tag row the notes are being written in. If Edit Limit Notes is disabled, any Notes that have been previously added will be viewable but not editable.
Reasons: Shows the reason for the most recent alarm event with a reason.
Snaps: Saves a snapshot of the current values in the centerline into the database. Saved “snaps” can be added to centerlines just like runs for later comparison.

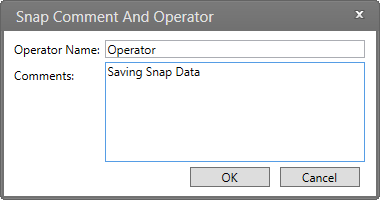
Click Save Snap to save snap data. Enter an Operator Name and a Comment then click OK to save the snapshot of the data to the centerline.
Click Get Snaps to retrieve snap data.
Save Data: This button only appears if columns have been manually changed, such as the Temp Target column. The button blinks red to indicate when a change that can be saved has been made.

Links
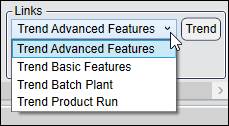
Trends in the folder of the trend added to the Trend Path field in the Settings tab of Configuration will be listed in this drop-down menu. The Trend button will launch whichever trend is currently selected in the drop-down menu. By default, the Trend Path field in properties is blank which causes these features to be hidden on the Settings Panel of new centerlines.
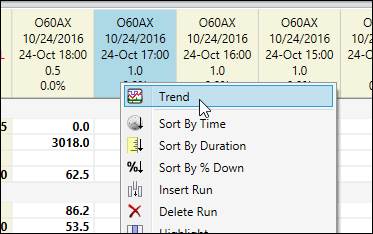
If the column header is right clicked and Trend is chosen, it will open the trend displayed in the drop-down menu for the time period of the column.