- 29 Jan 2024
- Print
- PDF
Manage Entry Statuses
- Updated on 29 Jan 2024
- Print
- PDF
Purpose: Learn about managing the available entry status types and configuring a default status and a default entry for an area.
Task: Create a new root status type and assign it a Notification Priority of “3”. Change the default status of an area and create a default entry for it.
Steps:
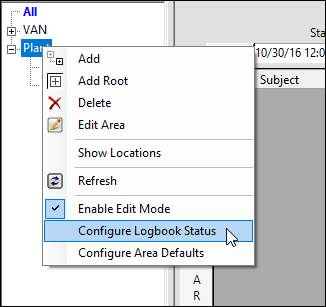
Make sure edit mode is enabled. Right-click anywhere in the area tree and select Configure Logbook Status.
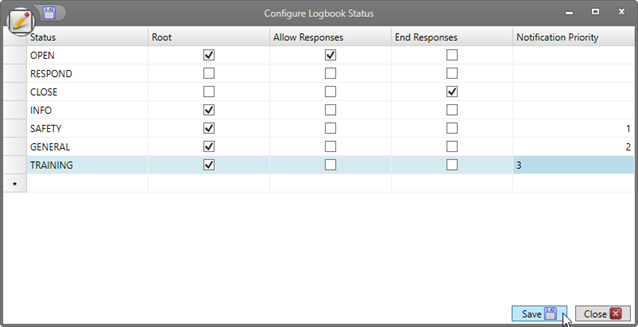
To create a new status type, start typing in the bottom row. Enter the name of the status in the Status field. Check Root to allow users to create new entries with this status type. Enter “3” in the Notification Priority column to make all entries with this status notifications. Click Save and then Close.
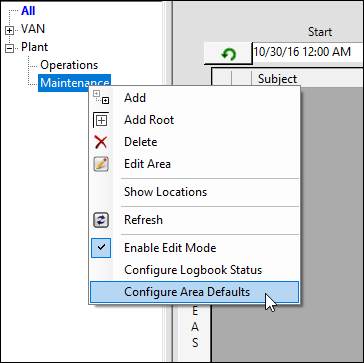
Right-click a specific area and select Configure Area Defaults.
Check Default Status for one of the status types. This will be status of new entries created in the area (the status can be modified by the user if needed).
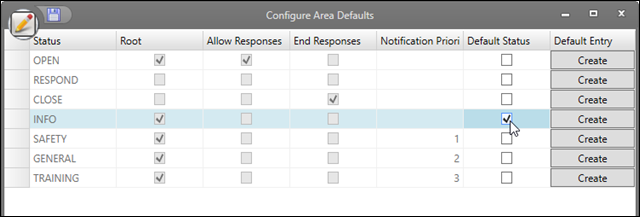
In the Default Entry column, click the Create button.
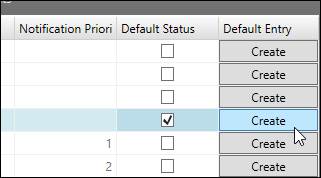
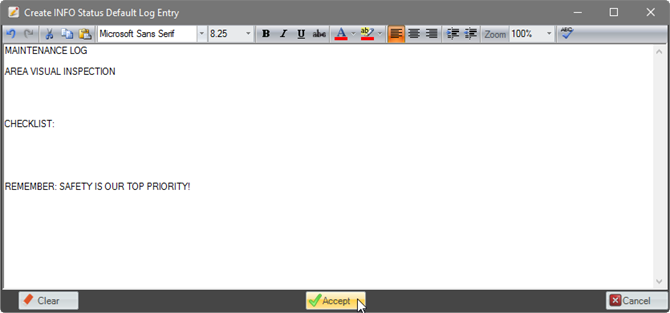
Enter the text to use as a default entry, then click Accept. Save and close the Configure Area Defaults window.
