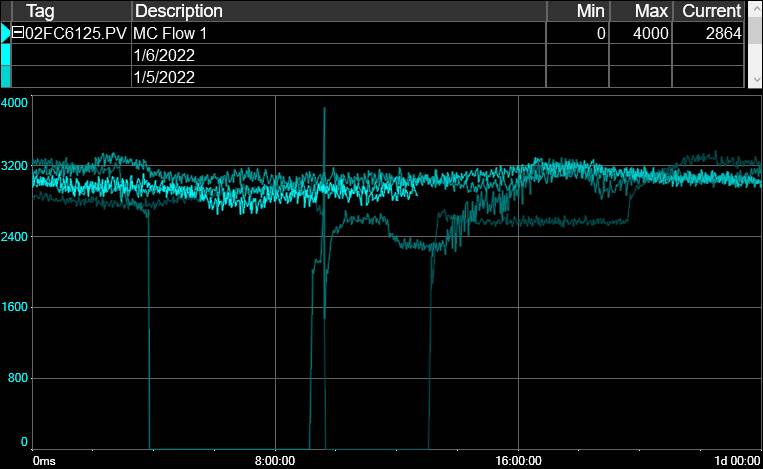
Purpose: Learn to view data for pre-defined time periods in a Trend.
Task: Use the Trend’s Run Browser to compare the last five “runs” of a specific type of pre-defined time period for a single tag.
Steps:
Create a Trend with at least one tag.
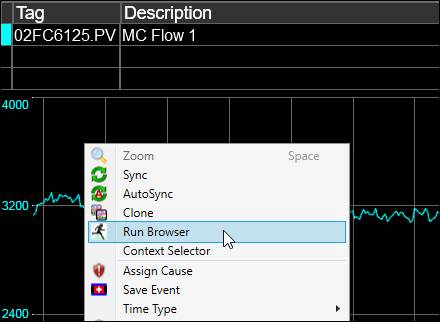
Right-click the plot area of the Trend and choose Run Browser.
On the Run Filter tab, select Multiple Runs for Process and Period as the time period source. The Location / Process Period Type and Filter Runs By sections will appear. Also, the Location and Process fields are pre-populated based on the properties of the first tag in the Trend. If the selected process is grade-based, the Grade Filter section will also appear.
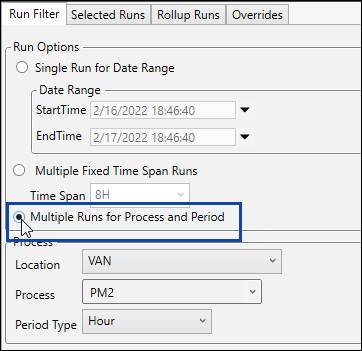
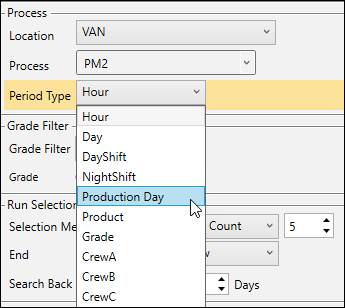
Set the Period Type to a pre-defined time period. There are two types of pre-defined time periods: implicit and custom. Implicit time periods are not arbitrary and include Hour, Day, Week (Monday), Week (Sunday), Month, Quarter, and Year. Custom time periods are user-defined and include, but are not limited to, Week, Production Day, Production Week, Production Month, Fiscal Month, Fiscal Quarter, and Fiscal Year. Common examples of user-created time periods are crew or shift schedules. Time periods are configured in Time Periods.
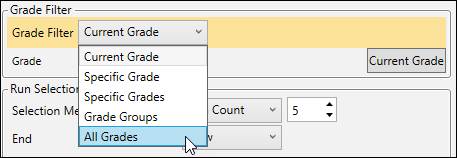
If the tag belongs to a grade-based process area, set the grade filter to “All Grades”. This will effectively ignore grades will filtering for time periods.
Set Filter Runs By to “Run Count” and the number of runs to “5”.

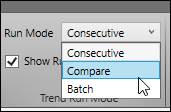
Change the Run Mode to Compare on the Settings tab.
Click the Load Runs In Trend button in the Settings tab.
