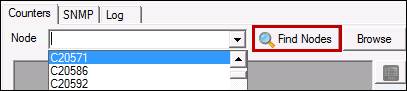
Upon launch, PARCnet Watch will open to the Counters tab. To find devices on the network, click Find Nodes. It may take some time for this list to populate depending on how many nodes are in the network. After this is populated, select a node from the drop-down menu. The node name or IP address of the target system can also be manually specified.
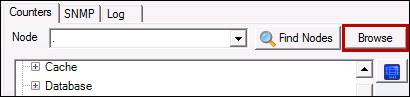
Select a Node and click Browse to display a list of Counters.
Add a counter by selecting the counter and clicking the ![]() button. To remove a counter, select the counter and click the
button. To remove a counter, select the counter and click the ![]() button.
button.
When a general list of counters is complete, it can be saved as a template. This saves time later because the templates can be used to bring across lists of tags from other nodes in fewer steps. To create a template, gather a list and click Create Template.

This will open the Save Counter Template window.
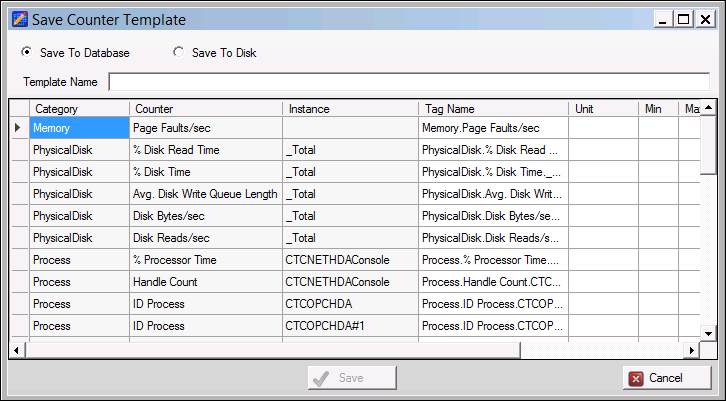
Choose the Save to Database radio button to save the list to the ctc_config database, or Save to Disk to save a template file to the hard drive. To begin pulling in values for the list of tags, click Start Monitor Counters in the main PARCnet Watch console window. Values will appear under the Current Value column.
If a tag turns red, PARCnet Watch has not yet received a value for the tag. The Sample Time & Total Reads display how often the values actually receive an update. The Sample Rate is how often the tags will actually be given a current value, which can be specified.
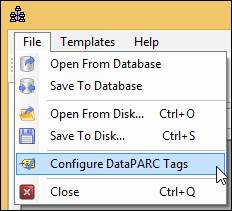
The nodes tags must now be saved to the database. Convert the nodes to tags by clicking Configure DataPARC Tags in the File ribbon to open the Configure DataPARC Tags window.
Select the source from the Counter Source drop-down menu. The list of nodes will appear with an “Add” option in the Action column if the tags do not yet exist.
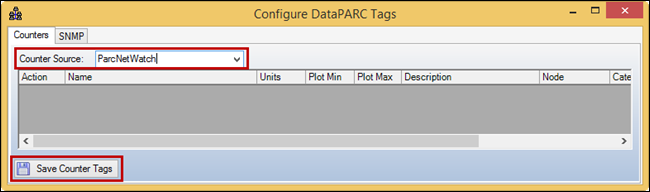
Edit the tag information if desired before saving by clicking on one of the cells. The following properties can be edited: Name, Units, Plot Min, Plot Max, and Description. Click Save Counter Tags. A tag icon will appear next to each of the nodes in the PARCnet Watch Console, indicating the node has been added as a tag. Save the tags to the disk or the database in the File ribbon. Restart PARChistory to begin historizing the new tags.