Purpose: Learn to create a Centerline for a non-grade-based process area using a filter tag override.
Task: Create a new Centerline in your user folder. Add tags from a non-grade-based process area. Use the moving average of a process tag as the downtime filter. Configure the Centerline to automatically load the latest data when opened.
Steps:
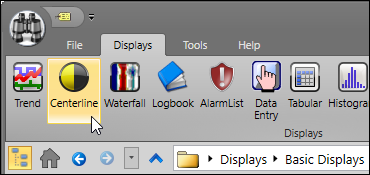
Open a new Centerline display.
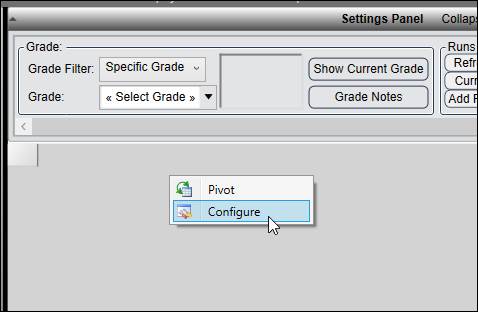
Right-click on the body of the Centerline and select Configure.
Open Tag Browser. Search for the tags that will be added to the Centerline. In most cases, all the tags in a Centerline will belong to the same process area.
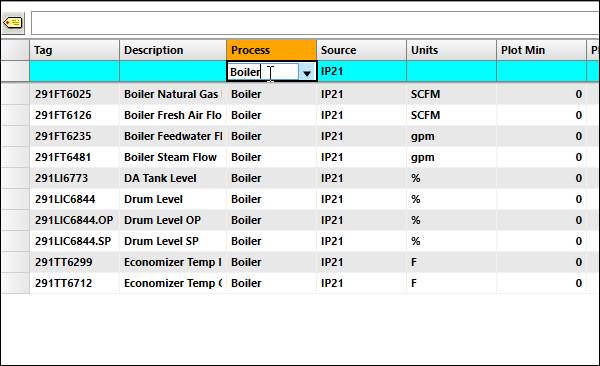
Drag the filtered tag list onto the Tags tab of Centerline Properties.
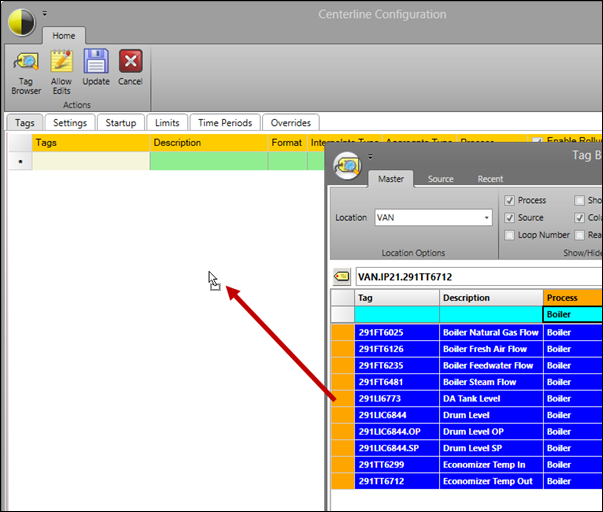
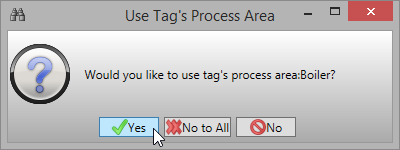
When asked to use this tag’s process area settings, click Yes. This applies the process area settings of the first tag in the set to the Centerline.
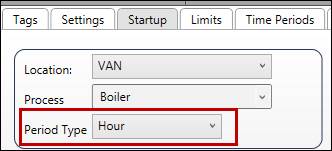
On the Startup tab, set the default Period Type.
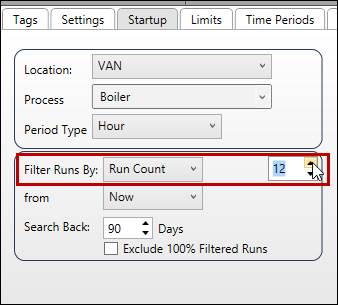
To determine the number of run columns on load, make sure Filter Runs By is set to “Run Count” and then change the run count to the desired number.
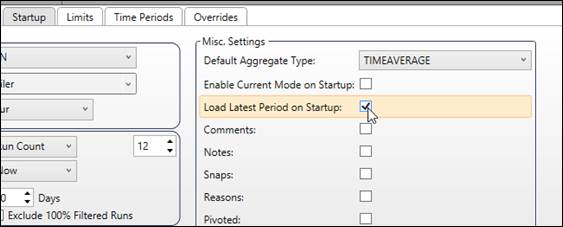
In the Misc. Settings section check Load Latest Periods on Startup to automatically load data when the Centerline is opened.
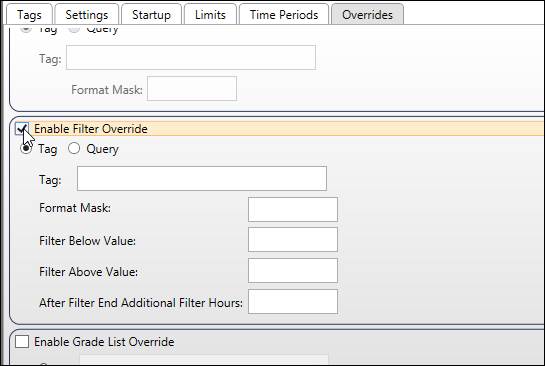
If the process area of the Centerline does not have a filter tag (downtime tag), one can be manually specified for use by the Centerline. Switch to the Overrides tab, scroll down, and check Enable Filter Override. Leave Tag selected.
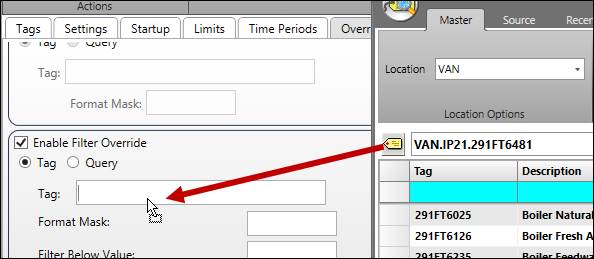
In the Tag Browser, find the tag to use as the filter and drag it into the Tag field.
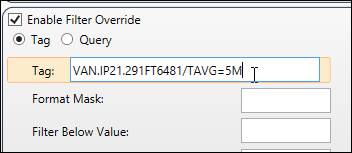
Depending on the nature of the downtime tag, the configuration of the override will vary. In some cases, the downtime tag has digital values to indicate whether the process is “up” or “down” (0 or 1). In this example, a process tag with continuous values will be used as the filter. Rather than use instantaneous values, a moving five minute time-weighted average will be used. Click in the field and append “/TAVG=5M” to the end of the tag name.
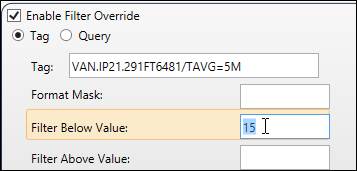
Suppose time should be filtered whenever the moving average drops below a given value (the process has slowed down enough that the data is not valid). Enter this value in the Filter Below Value field. In this case, whenever the moving five minute time-weighted average of the tag drops below 15, the Centerline will exclude that time from its calculation of statistics.
On the Time Periods tab, select the types of time periods that will be available for selection by the user. Select a time period type in the Available panel and then click the Add button. Repeat as necessary.

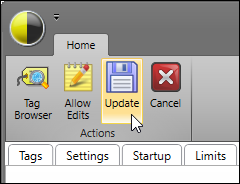
Click Update.
Save and close the Centerline.
