- 29 Jan 2024
- Print
- PDF
Configure a Min/Max Alarm with Email Notification
- Updated on 29 Jan 2024
- Print
- PDF
Purpose: Practice building a Min/Max alarm for a tag and configuring email notifications.
Task: Build a Min/Max alarm, configure a three minute dead band before the alarm triggers, and set up email notification to at least two people.
Steps:
Go to PARCview Explorer’s Tools tab and select Alarms Config.

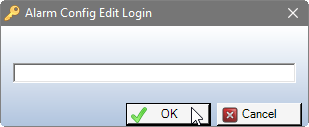
Opening Alarm Configuration requires the PARCalarm Configuration password or the corresponding PARCsecurity role.
On the File tab, click Add New Alarm to start building a new alarm definition.

Click the yellow tag icon to launch Tag Browser.

Locate the tag that the alarm will be based on in Tag Browser. Drag it into the Tag field.
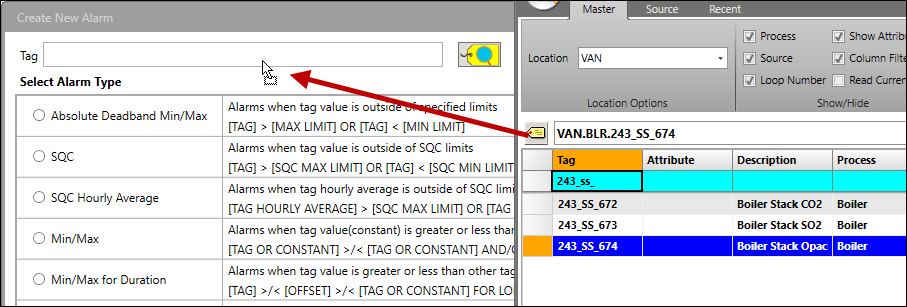
Select the Absolute Deadband Min/Max radio button and then click OK at the bottom of the form.

In the Alarm Header section, change the Name or Description of the alarm if desired. Note: the value in the Name field is used to build the “Alarm UTag”, which is an a new tag that has a values of “1” when the alarm is true and “0” when the alarm is false, so make sure to follow tag naming conventions. The Description field is optional and allows spaces and special characters.

In the Alarm Formula section, enter a minimum and/or maximum threshold. A value-based deadband can also be applied.

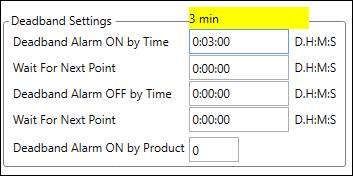
On the Alarm Configuration tab, in the Deadband Settings section, set Deadband Alarm ON by Time to “00:03:00” (3 minutes).
On the Notification tab, go to the Global Email List tab. Start typing in the asterisk (*) row to add a new email to the list. Enter at least an Email Address; the First Name and Last Name fields are optional. Make sure to click the Save button to the right.

Go to the Messaging tab. In the Emailing List section, select the email address created in step 12 in the Available panel and click Assign. Next, in the Triggers section check Notify when alarm detected. (Note: Alarm Server is not running by default in the training system, so sample alarms will not trigger emails.)
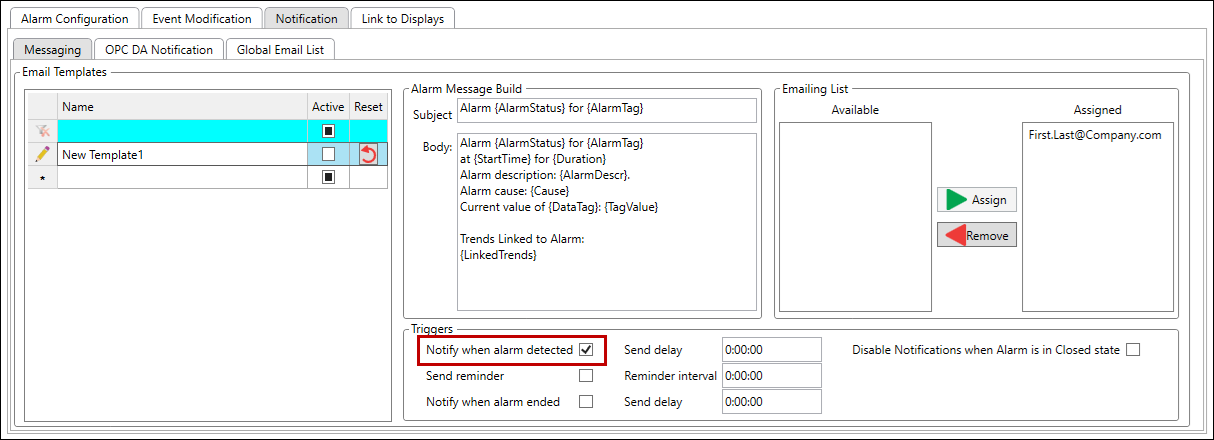
Finally, click Save Changes.

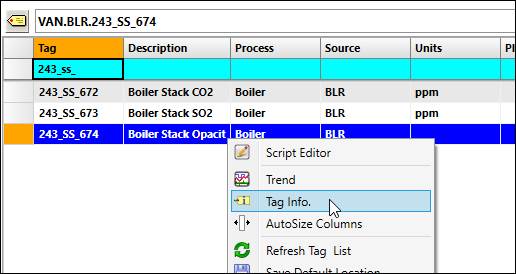
Return to Tag Browser, then right-click on the base tag and select Tag Info.
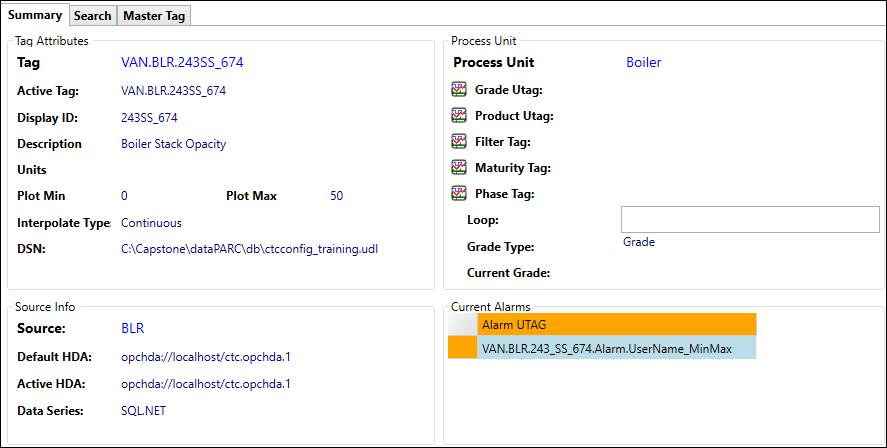
On the Summary tab, find the Current Alarms section to see the alarm definitions for the tag.
Back in Tag Browser, check Show Attributes.
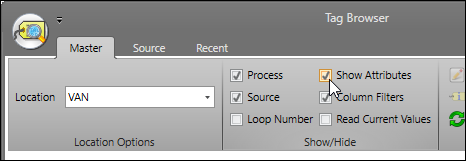
Select the base tag to see an additional row appear with the tag’s Alarm UTag. This tag has a value of 0 when the alarm is false and a value of 1 when the alarm is true. Alarm tags can be trended and used in PARCview displays like any other tag.


