Centerline’s ribbon has these tabs: File, Runs, Display, Windows, and Help.
The ribbon also has an application button and a QAT.
Double-click a tab name to hide or show the ribbon.
File Tab
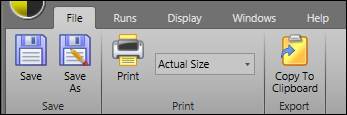
Save: Saves the file in its current state and location.
Save As: Clicking this button launches the file browser. Here the file can be saved in a new location and/or with a new name.
Print: This button launches the print window. Here the print job can be configured before printing the document.
Copy To Clipboard: This action will copy the data in the grid to the clipboard. Then this information could be pasted elsewhere.
Runs Tab
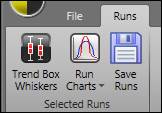
Trend Box Whiskers:Opens a trend of a saved run with a box whisker plot applied to it.
Run Charts: In order to open a chart with data in it, one or more of the run columns must first be highlighted. To highlight a column, right-click on the column header and select Highlight to highlight the column selected or Highlight All to highlight all of the columns of data. Clicking Histogram, Trend Compare or Trend Consecutive under Run Charts will open another window with whichever chart and columns were selected. Under the Chart Type tab in that window, it shows the three charts available. Selecting a different chart than the chart currently selected will switch the display to match the proper layout.
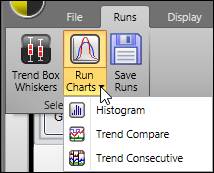
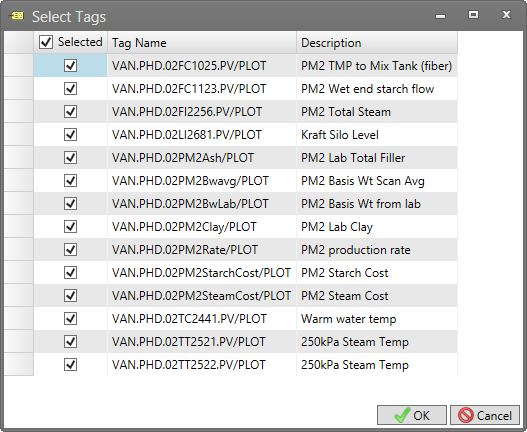
If Trend Compare or Trend Consecutive is chosen, use the Select Tags window to choose which tags should be included in the trend.
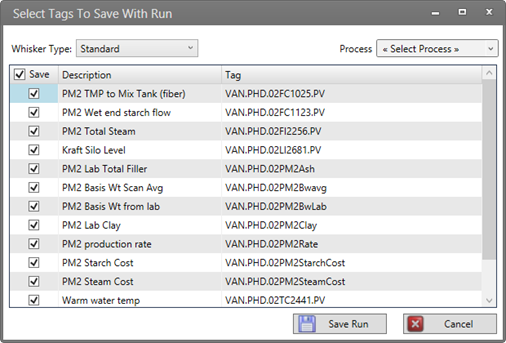
Save Runs: Selecting this option will open a window that lists the tags in the centerline with a checkbox to select/unselect any of the tags. Tag rows will be highlighted in red if they cannot be saved (not assigned to a process area). There are two drop-down menus. The Whisker Type drop-down menu allows either the Standard or SQC type to be chosen. The Process drop-down menu allows any of the processes to be selected.
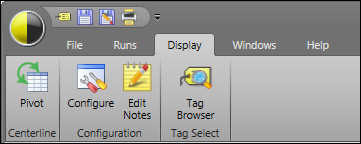
Display Tab
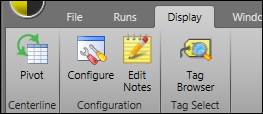
Pivot: Enable Pivot mode (flip rows and columns).
Configure: This will open Configuration with all the tags listed that are currently in the centerline. Within the properties window, things such as grade, product, time periods, and other settings can be modified.
Edit Notes: A password is needed to activate and deactivate the possibility of editing any of the Limits columns, Notes button, and Notes column. When activated, those features will be available to edit. When deactivated, those features will be viewable but no editing can be done.
Tag Browser: Opens the Tag Browser.
Windows Tab
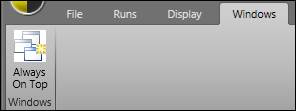
Always On Top: Forces the window to stay on top of other PARCview windows.
Help Tab
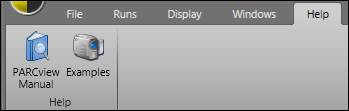
PARCview Manual: Opens the PARCview help manual.
Examples: Links to help videos about Centerlines.
Application Button
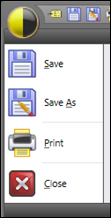
Save: Saves the file in its current state and location.
Save As: Clicking this button launches the file browser. Here the file can be saved in a new location and/or with a new name.
Print: This button launches the print window. Here the print job can be configured before printing the document.
Close: Closes the window.
Quick Access Toolbar
Tag Browser: Opens the Tag Browser.
Save: Saves the file in its current state and location.
Save As: Clicking this button launches the file browser. Here the file can be saved in a new location and/or with a new name.
Print: This button launches the print window. Here the print job can be configured before printing the document.