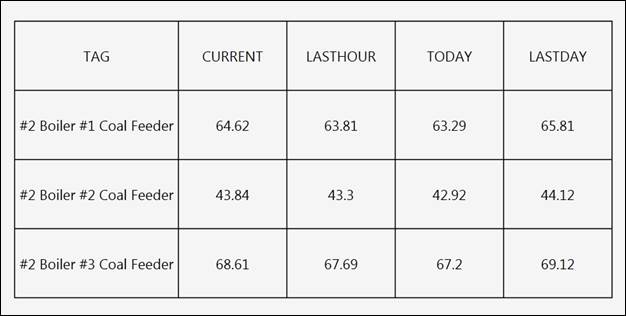
Purpose: Learn how to use the PVGrid to show current values alongside aggregates for a set of tags.
Task: Build a grid that shows the following information for three tags: description, current value, time average over last hour, time average from start of current production day to now, and time average over last full production day.
Steps:
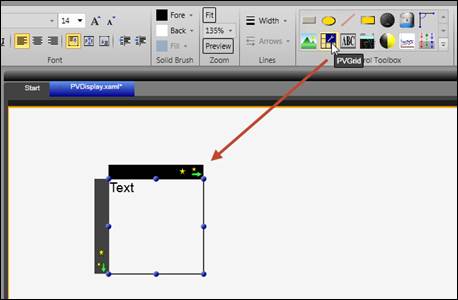
Add a PVGrid to the canvas.
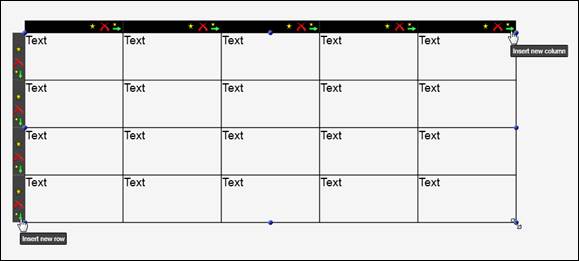
Resize the grid. Add three more rows and four more columns.
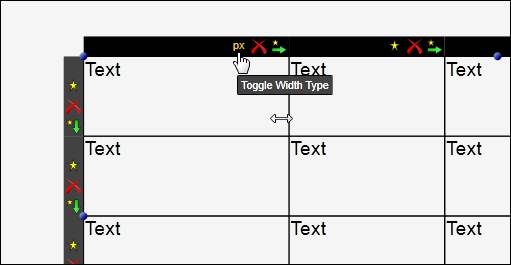
Widen the first column, then switch it to fixed width mode.
Hold Shift, then click and drag from the top left cell to the bottom right cell to select all of the cells.
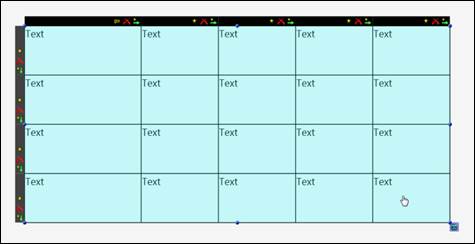
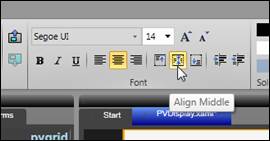
Use the font alignment tools on the Edit tab to center the text in the cells.
Double-click in the grid to make it the active layer (notice orange border).
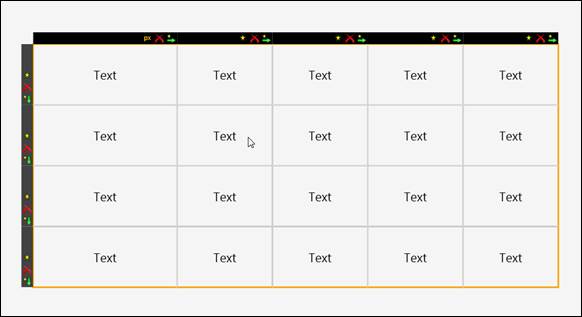
Double-click the text within a cell to edit it. Make the following column headers: TAG, CURRENT, LASTHOUR, TODAY, LASTDAY.

Open the Tag Browser and choose three tags. For each tag, add it to every column within a row.

For the text blocks in the Tag column, change the Value Type to Description.
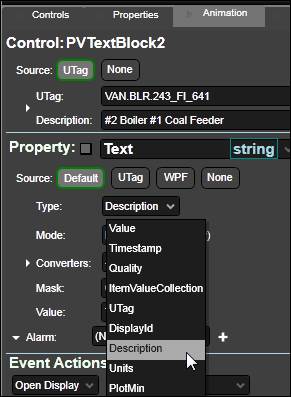
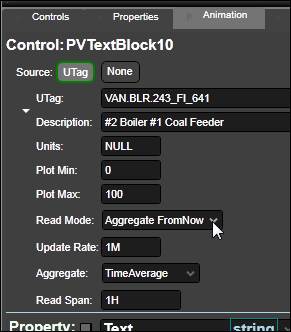
For the text blocks in the LastHour column, change the Read Mode to Aggregate FromNow. (Remember to expand the UTag section at the top). Leave the Aggregate and Read Span with their default values to get a time-weighted average over the last hour.
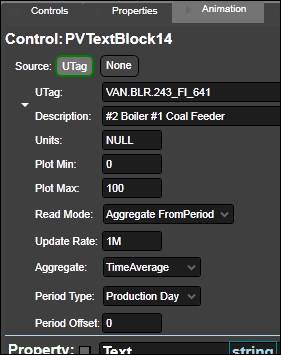
For text blocks in the Today column, change the Read Mode to Aggregate FromPeriod. Change the Period Type to Production Day (note: the Production Day period type must be configured in System Configuration). Leave the Period Offset at 0 to see the time-weighted average from the start of the production day up until now.
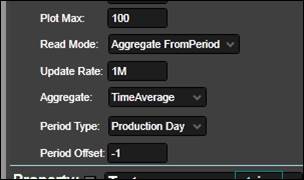
For text blocks in the LASTDAY column, change the Read Mode to Aggregate FromPeriod. Change the Period Type to Production Day. Change the Period Offset tot -1 to see the time-weighted average over the last full production day.
Click Run to test.
